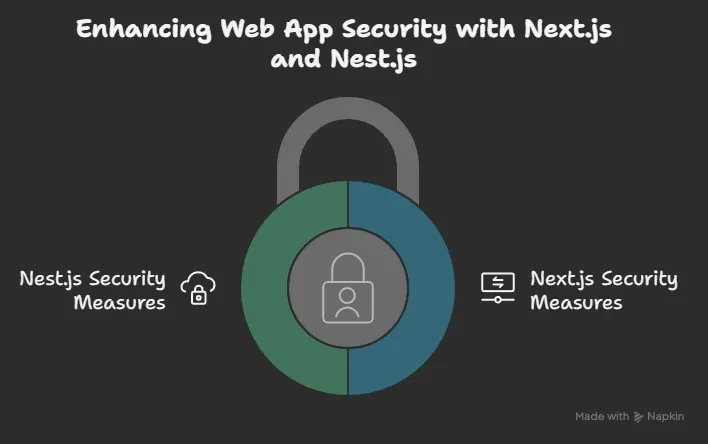
Web Application Security with Next.js and Nest.js
Web application security is a critical consideration for any modern web development project. When combining Next.js for the frontend and Nest.js for the backend, you have powerful tools at your disposal to create robust, secure applications. This guide explores the key security measures you should implement across both frameworks.
🎯 Frontend Security with Next.js
Authentication and Authorization
Next.js provides several approaches for implementing secure authentication:
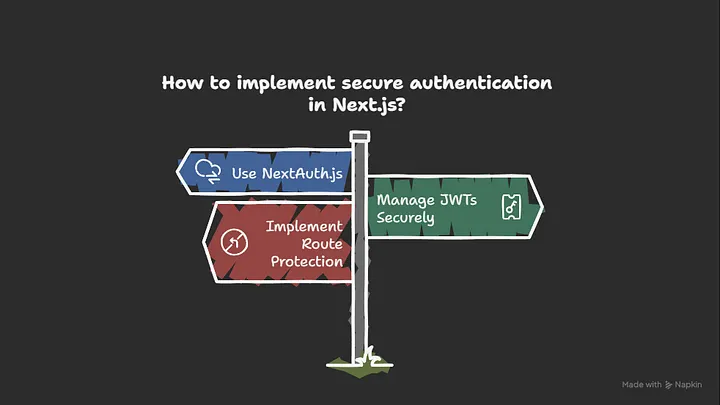
- NextAuth.js — This popular authentication library integrates seamlessly with Next.js and supports OAuth providers, email/password, and more.
- JWT Management — Store tokens securely in HTTP-only cookies rather than
localStorageto prevent XSS attacks. - Route Protection — Implement middleware to protect routes that require authentication:
// middleware.ts
import { NextResponse } from 'next/server';
import type { NextRequest } from 'next/server';

export function middleware(request: NextRequest) {
  const token = request.cookies.get('auth-token')?.value;

  if (!token) {
    return NextResponse.redirect(new URL('/login', request.url));
  }

  return NextResponse.next();
}

// Specify which routes to run middleware on
export const config = {
  matcher: ['/dashboard/:path*', '/profile/:path*'],
};
Preventing Common Attacks
-
XSS Protection — Next.js automatically escapes user input, but be cautious with:
- Using
dangerouslySetInnerHTML - Handling user-generated content
- Using
-
CSP Headers — Implement Content Security Policy headers to restrict resource loading:
// next.config.js
const securityHeaders = [
  {
    key: "Content-Security-Policy",
    value: "default-src 'self'; script-src 'self'",
  },
];

module.exports = {
  async headers() {
    return [
      {
        source: "/:path*",
        headers: securityHeaders,
      },
    ];
  },
};
- Trusted Types — For modern browsers, leverage the Trusted Types API to prevent DOM-based XSS attacks.
- CSRF Protection — Implement Cross-Site Request Forgery protection using the built-in Next.js CSRF protection or a third-party library.
🎯 Backend Security with Nest.js
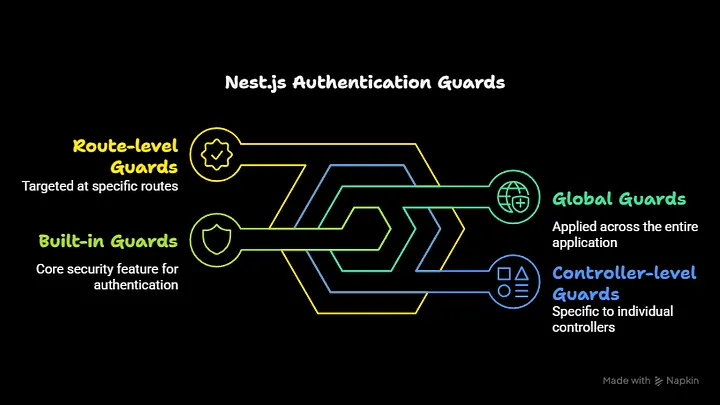
➡️ Authentication and Authorization
- Built-in Guards — Nest.js provides authentication guards that can be applied at different levels
@Controller('users')
@UseGuards(JwtAuthGuard)
export class UsersController {
  @Get('profile')
  getProfile(@Request() req) {
    return req.user;
  }
}
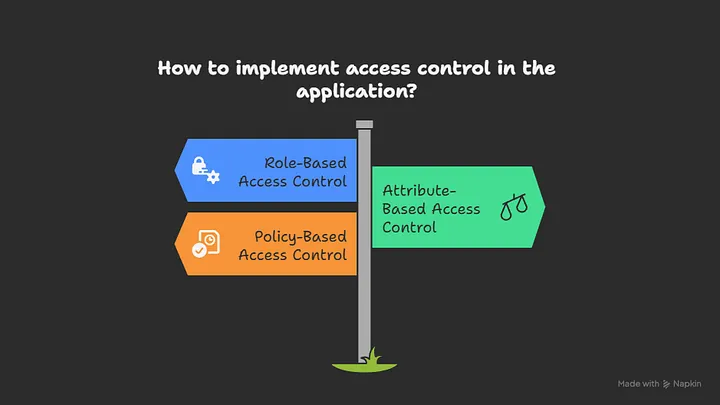
- Role-Based Access Control — Implement custom decorators and guards for fine-grained permission control:
@Roles('admin')
@UseGuards(JwtAuthGuard, RolesGuard)
@Get('admin-panel')
getAdminPanel() {
  return { message: 'Admin panel data' };
}
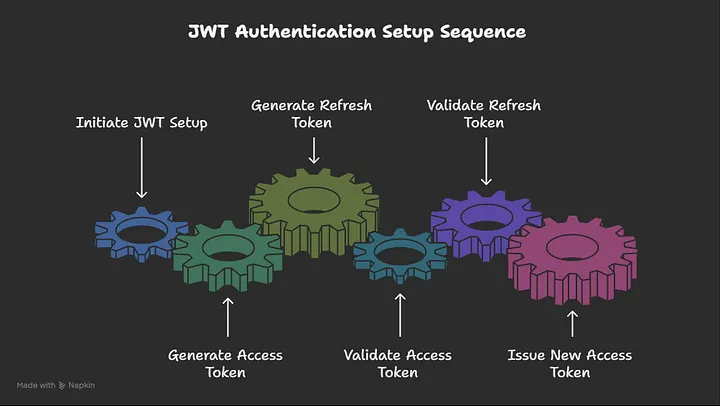
- JWT Implementation — Set up a robust JWT authentication system with refresh tokens:
// auth.service.ts
@Injectable()
export class AuthService {
  constructor(
    private usersService: UsersService,
    private jwtService: JwtService,
  ) {}

  async validateUser(username: string, password: string): Promise<any> {
    const user = await this.usersService.findOne(username);
    if (user && (await bcrypt.compare(password, user.password))) {
      const { password, result } = user;
      return result;
    }
    return null;
  }

  async login(user: any) {
    const payload = { username: user.username, sub: user.userId };
    return {
      access_token: this.jwtService.sign(payload, { expiresIn: "15m" }),
      refresh_token: this.jwtService.sign(payload, { expiresIn: "7d" }),
    };
  }
}
➡️ API Security
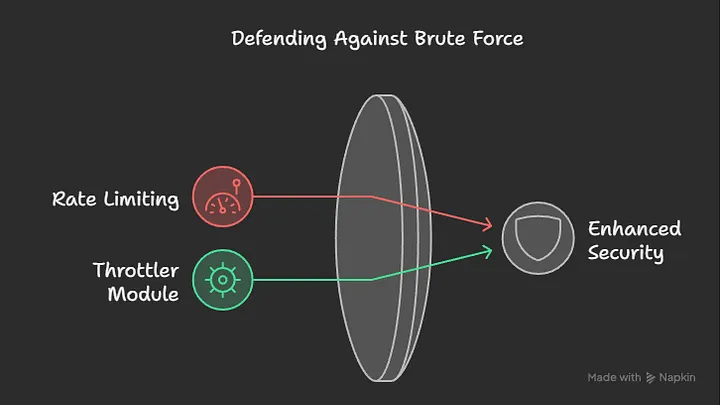
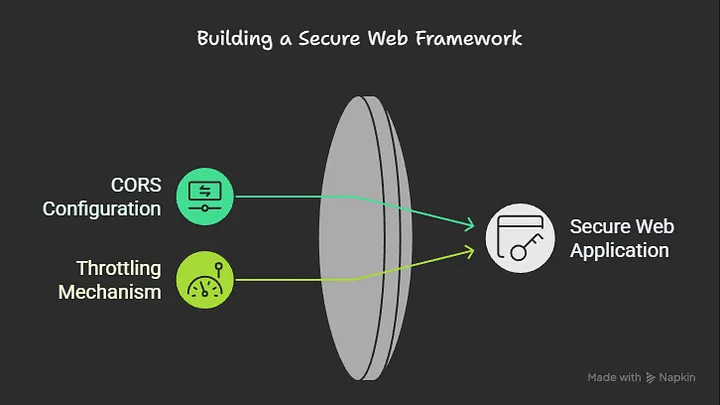
- Rate Limiting — Protect against brute force attacks using
@nestjs/throttler
// app.module.ts
import { ThrottlerGuard, ThrottlerModule } from "@nestjs/throttler";

@Module({
  imports: [
    ThrottlerModule.forRoot({
      ttl: 60,
      limit: 10,
    }),
  ],
  providers: [
    {
      provide: APP_GUARD,
      useClass: ThrottlerGuard,
    },
  ],
})
export class AppModule {}
- CORS Configuration — Properly configure Cross-Origin Resource Sharing:
// main.ts
async function bootstrap() {
  const app = await NestFactory.create(AppModule);
  app.enableCors({
    origin: ["https://yourdomain.com"],
    methods: ["GET", "POST", "PUT", "DELETE"],
    credentials: true,
  });
  await app.listen(3000);
}
- Request Validation — Use
class-validatorandclass-transformerwith DTOs:
export class CreateUserDto {
  @IsString()
  @IsNotEmpty()
  @MinLength(3)
  @MaxLength(50)
  username: string;

  @IsEmail()
  email: string;

  @IsString()
  @MinLength(8)
  @Matches(/^(?=.*[a-z])(?=.*[A-Z])(?=.*\d)(?=.*[@$!%*?&])[A-Za-z\d@$!%*?&]/)
  password: string;
}
- Helmet Integration — Use Helmet middleware to set various HTTP headers:
import helmet from "helmet";

async function bootstrap() {
  const app = await NestFactory.create(AppModule);
  app.use(helmet());
  await app.listen(3000);
}
bootstrap();
➡️ Database Security
✔️ ORM Security
When using TypeORM or Prisma with Nest.js:
- Use parameterized queries to prevent SQL injection
- Implement proper data sanitization before database operations
- Apply the principle of least privilege for database users
✔️ Environment Configuration
Keep sensitive information in environment variables:
// app.module.ts
@Module({
  imports: [
    ConfigModule.forRoot({
      isGlobal: true,
      envFilePath: `.env.${process.env.NODE_ENV}`,
    }),
    TypeOrmModule.forRootAsync({
      imports: [ConfigModule],
      useFactory: (configService: ConfigService) => ({
        type: "postgres",
        host: configService.get("DB_HOST"),
        port: configService.get("DB_PORT"),
        username: configService.get("DB_USERNAME"),
        password: configService.get("DB_PASSWORD"),
        database: configService.get("DB_NAME"),
        entities: [__dirname + "/**/*.entity{.ts,.js}"],
        synchronize: false,
      }),
      inject: [ConfigService],
    }),
  ],
})
export class AppModule {}
✔️ Password Storage
Never store plain text passwords, use bcrypt or Argon2:
import * as bcrypt from "bcrypt";

@Injectable()
export class UsersService {
  constructor(
    @InjectRepository(User)
    private usersRepository: Repository<User>,
  ) {}

  async create(createUserDto: CreateUserDto): Promise<User> {
    const saltRounds = 10;
    const hashedPassword = await bcrypt.hash(
      createUserDto.password,
      saltRounds,
    );

    const user = new User();
    user.username = createUserDto.username;
    user.email = createUserDto.email;
    user.password = hashedPassword;

    return this.usersRepository.save(user);
  }
}
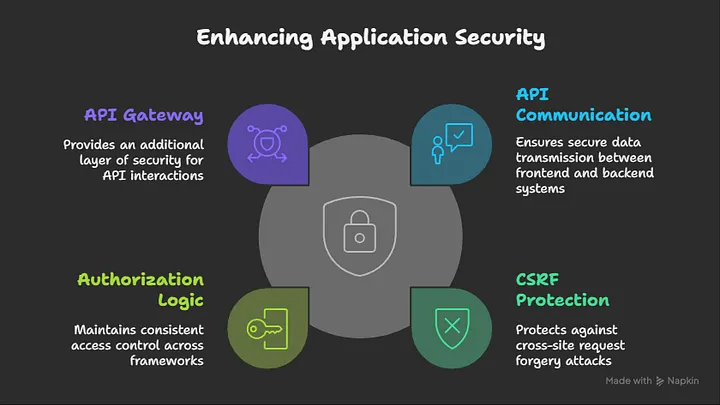
Secure Integration Between Next.js and Nest.js
✔️ API Communication — Use HTTPS for all communication between frontend and backend.
✔️ CSRF Protection
- Generate tokens on the Nest.js backend
- Send tokens with forms from Next.js
- Validate tokens on the server for each request
✔️ Consistent Authorization Logic — Share authentication mechanisms between both frameworks.
✔️ Secure API Gateway — Consider using an API Gateway pattern for additional security layers:
// next.js api route that acts as a proxy
// pages/api/proxy/[...path].ts
import { NextApiRequest, NextApiResponse } from "next";
import httpProxyMiddleware from "next-http-proxy-middleware";

export default function handler(req: NextApiRequest, res: NextApiResponse) {
  const token = req.cookies["auth-token"];

  // Add auth header if token exists
  if (token) {
    req.headers.authorization = `Bearer ${token}`;
  }

  return httpProxyMiddleware(req, res, {
    target: process.env.API_URL,
    pathRewrite: [{ patternStr: "^/api/proxy", replaceStr: "" }],
    headers: {
      "X-Forwarded-For": req.socket.remoteAddress,
    },
  });
}
Production Deployment Security
✔️ HTTPS Enforcement — Redirect HTTP to HTTPS and use proper SSL/TLS certificates.
✔️ Security Headers
- Strict-Transport-Security
- X-Content-Type-Options
- X-Frame-Options
- Referrer-Policy
✔️ Regular Dependency Updates
- Use
npm auditoryarn auditregularly - Set up automated dependency scanning in CI/CD pipelines
✔️ Logging and Monitoring
// nest.js global exception filter
@Catch()
export class AllExceptionsFilter implements ExceptionFilter {
  constructor(private readonly logger: Logger) {}

  catch(exception: unknown, host: ArgumentsHost) {
    const ctx = host.switchToHttp();
    const response = ctx.getResponse();
    const request = ctx.getRequest();

    // Log security-related exceptions with more detail
    if (
      exception instanceof UnauthorizedException ||
      exception instanceof ForbiddenException
    ) {
      this.logger.warn({
        message: "Security exception occurred",
        path: request.url,
        ip: request.ip,
        userId: request.user?.id || "unauthenticated",
        exception: exception.message,
        stack: exception.stack,
      });
    }

    const status =
      exception instanceof HttpException
        ? exception.getStatus()
        : HttpStatus.INTERNAL_SERVER_ERROR;

    response.status(status).json({
      statusCode: status,
      timestamp: new Date().toISOString(),
      path: request.url,
      message:
        exception instanceof HttpException
          ? exception.message
          : "Internal server error",
    });
  }
}
✔️ Containerization Security
- Use minimal base images (Alpine or distroless)
- Don’t run containers as root
- Scan container images for vulnerabilities
➡️ Docker file example with security best practices
FROM node:18-alpine AS builder
WORKDIR /app
COPY package*.json ./
RUN npm ci
COPY . .
RUN npm run build

FROM node:18-alpine
WORKDIR /app
COPY --from=builder /app/node_modules ./node_modules
COPY --from=builder /app/dist ./dist
COPY --from=builder /app/package*.json ./

### Create non-root user
RUN addgroup -g 1001 -S nodejs
RUN adduser -S nestjs -u 1001

USER nestjs
EXPOSE 3000
CMD ["npm", "run", "start:prod"]
Security Testing
- Static Analysis — Use tools like ESLint with security plugins to identify potential issues.
- Dynamic Security Testing — Use OWASP ZAP or Burp Suite to test your application for vulnerabilities.
- Penetration Testing — Conduct regular penetration tests to identify and fix security issues.
- Security Audit — Perform security audits of your codebase and infrastructure.
Conclusion
Securing a web application built with Next.js and Nest.js requires a holistic approach. By implementing proper authentication and authorization, preventing common attacks, securing your API and database layer, and deploying with security best practices in mind, you can significantly reduce the risk of security breaches.
Remember that security is an ongoing process that requires regular updates and testing. Stay informed about the latest security vulnerabilities and best practices to ensure your application remains secure over time.
Resources
Next.js Security Documentation
Nest.js Security Documentation
Related Topics
Enjoyed this article?
Check out more blogs on our blog.