
Build Flutter Apps Faster with Cursor AI
Discover how modern AI tools like Cursor can dramatically speed up Flutter app design and code generation. In this guide, we explore AI-powered workflows — from importing Figma designs to writing precise prompts — that let you create pixel-perfect Flutter UIs and boilerplate code in minutes.
Whether you’re a beginner or a seasoned developer, these tips will help you leverage Cursor’s AI assistant for faster, cleaner code.
What Is Cursor AI and Why Use It?
Cursor is an AI-powered code editor that understands natural-language instructions. It uses advanced models (including GPT-4) to:
- Autocomplete code
- Refactor classes
- Generate entire projects
- Modify existing code based on instructions
As the official site states, Cursor is “built to make you extraordinarily productive.” You simply tell it what to do, and it writes or edits the code for you.
Many developers report using Cursor for most of their daily work. One Flutter engineer mentioned they:
“Rarely write boilerplate code anymore — I leverage tools like Cursor to streamline Flutter development.”
In practice, this means tasks that once took hours can now be done in minutes.
Getting Started with Cursor
Getting started is simple:
- Visit the Cursor website
- Download the editor for your operating system (macOS, Windows, or Linux)
- Install and launch the app
Once installed, Cursor opens with a familiar IDE layout.
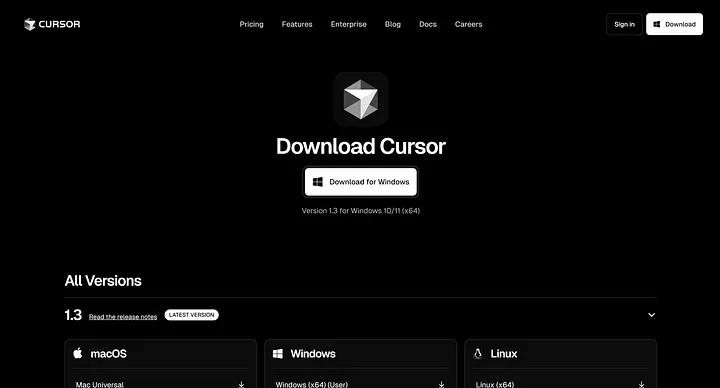
Figure: Cursor AI official download page
Cursor Interface Overview
Cursor looks and feels similar to VS Code:
- File Explorer (Left): Browse and organize project files
- Code Editor (Center): Syntax highlighting, linting, and AI-assisted edits
- AI Chat Sidebar (Right): Type prompts and receive code or refactors
In short, Cursor is a traditional IDE enhanced with a powerful AI assistant.
Rapid Flutter UI Design with AI
Building polished Flutter UIs from scratch can be time-consuming. Cursor helps dramatically reduce this effort.
A common workflow is:
- Design the UI in Figma
- Convert the design into Flutter code
- Refine and optimize using Cursor prompts
Design-to-Code Tools
Popular options include:
- Builder.io Figma Plugin – Generates Flutter widget code from Figma designs
- FlutterFlow – Offers an Import from Figma feature that maps components, colors, and assets into Flutter widgets
Once you have the initial widget code, Cursor can refine it.
Example: Improving Responsiveness with Cursor
Suppose a generated layout breaks on smaller screens. You can prompt Cursor like this:
“Update this Scaffold to use a SingleChildScrollView for responsive layouts. Run
flutter testto ensure no regressions.”
Cursor will:
- Analyze the code
- Apply the requested changes
- Run tests automatically
- Fix issues until the layout works correctly
This design-first + AI-refinement workflow allows you to go from mockup to functional UI in minutes.
Generating UI from Images or Prompts
Cursor can also generate UI directly from screenshots or descriptions.
For example, you can drag a UI screenshot into Cursor’s chat and prompt:
Prompt: “Please revamp my project to create this UI with all the colors and make sure everything is pixel perfect.”
Cursor then generates full Flutter widget code that closely matches the design. While minor tweaks may be required, the initial output compiles and works — saving massive development time.
Key Tips for Rapid UI Design
- Start with a design mockup (Figma or Sketch)
- Use AI importers (Builder.io, FlutterFlow)
- Refine with Cursor prompts
- Test quickly and iterate
- Fix issues by guiding the AI with follow-up prompts
Using this approach, complex Flutter UIs can be built in under 30 minutes.
Crafting Effective AI Prompts for Perfect Code
Great results depend on clear and detailed prompts.
Always include:
- What to build
- Where it belongs
- Constraints or edge cases
- Tests or validation steps
Example Prompt
Create a Flutter function that converts a markdown string
to a widget tree for rendering in a RichText widget.
Write tests first, then the implementation, and run flutter test.
This prompt clearly specifies:
- The functionality
- Testing requirements
- Validation via
flutter test
Cursor then generates test files, implementation code, and iterates until tests pass.
Best Practices for Prompting
- Be specific about UI details
- Mention widget names, layouts, and constraints
- Ask Cursor to run tests or analysis
- Iterate with follow-up prompts
- Use YOLO mode for auto-fixing errors
Clear prompts significantly reduce manual corrections later.
Harnessing Cursor’s AI Features
Cursor includes several powerful features:
YOLO Mode
Allows the AI to:
- Run CLI commands
- Fix errors automatically
- Re-run tests until code compiles
Natural-Language Edits
Select code and describe changes like:
“Make this text bold and center-aligned”
Cursor updates the code instantly.
AI Commit Messages
Cursor can generate meaningful commit messages summarizing your changes.
Bug Finder
Scans your branch against main to detect issues such as:
- Missing widget keys
- Layout problems
- Type errors
Cursor acts like an AI pair programmer, helping debug, refactor, and explain code when needed.
Quick Workflow Summary
- Enable YOLO mode
- Create or open a Flutter project
- Design UI in Figma or FlutterFlow
- Import design and refine with Cursor
- Generate logic, models, and tests
- Run tests and auto-fix issues
- Review and polish code
This loop turns hours of work into minutes.
Conclusion
AI-powered tools like Cursor are transforming Flutter development. Cursor eliminates boilerplate and allows developers to focus on high-level design and logic.
By combining:
- Design tools (Figma, FlutterFlow)
- Smart prompts
- Cursor’s AI features
You can ship full Flutter UIs in under 30 minutes, complete with working code and tests.
As one Flutter pro put it:
“Cursor is a game-changer for Flutter development.”
Try it in your next project — the future of Flutter coding is AI-assisted, and it’s already here.
👏 Found this guide helpful? Drop your favorite tools, prompts, or UI hacks in the comments — let’s learn together.
🚀 Follow me for more deep dives on AI + frontend development. Your next 30-minute project might just go live today.
Related Topics
Enjoyed this article?
Check out more blogs on our blog.